

64 seconds of Self-Care - DIY Facial Massage
- hayleysbeautystudio
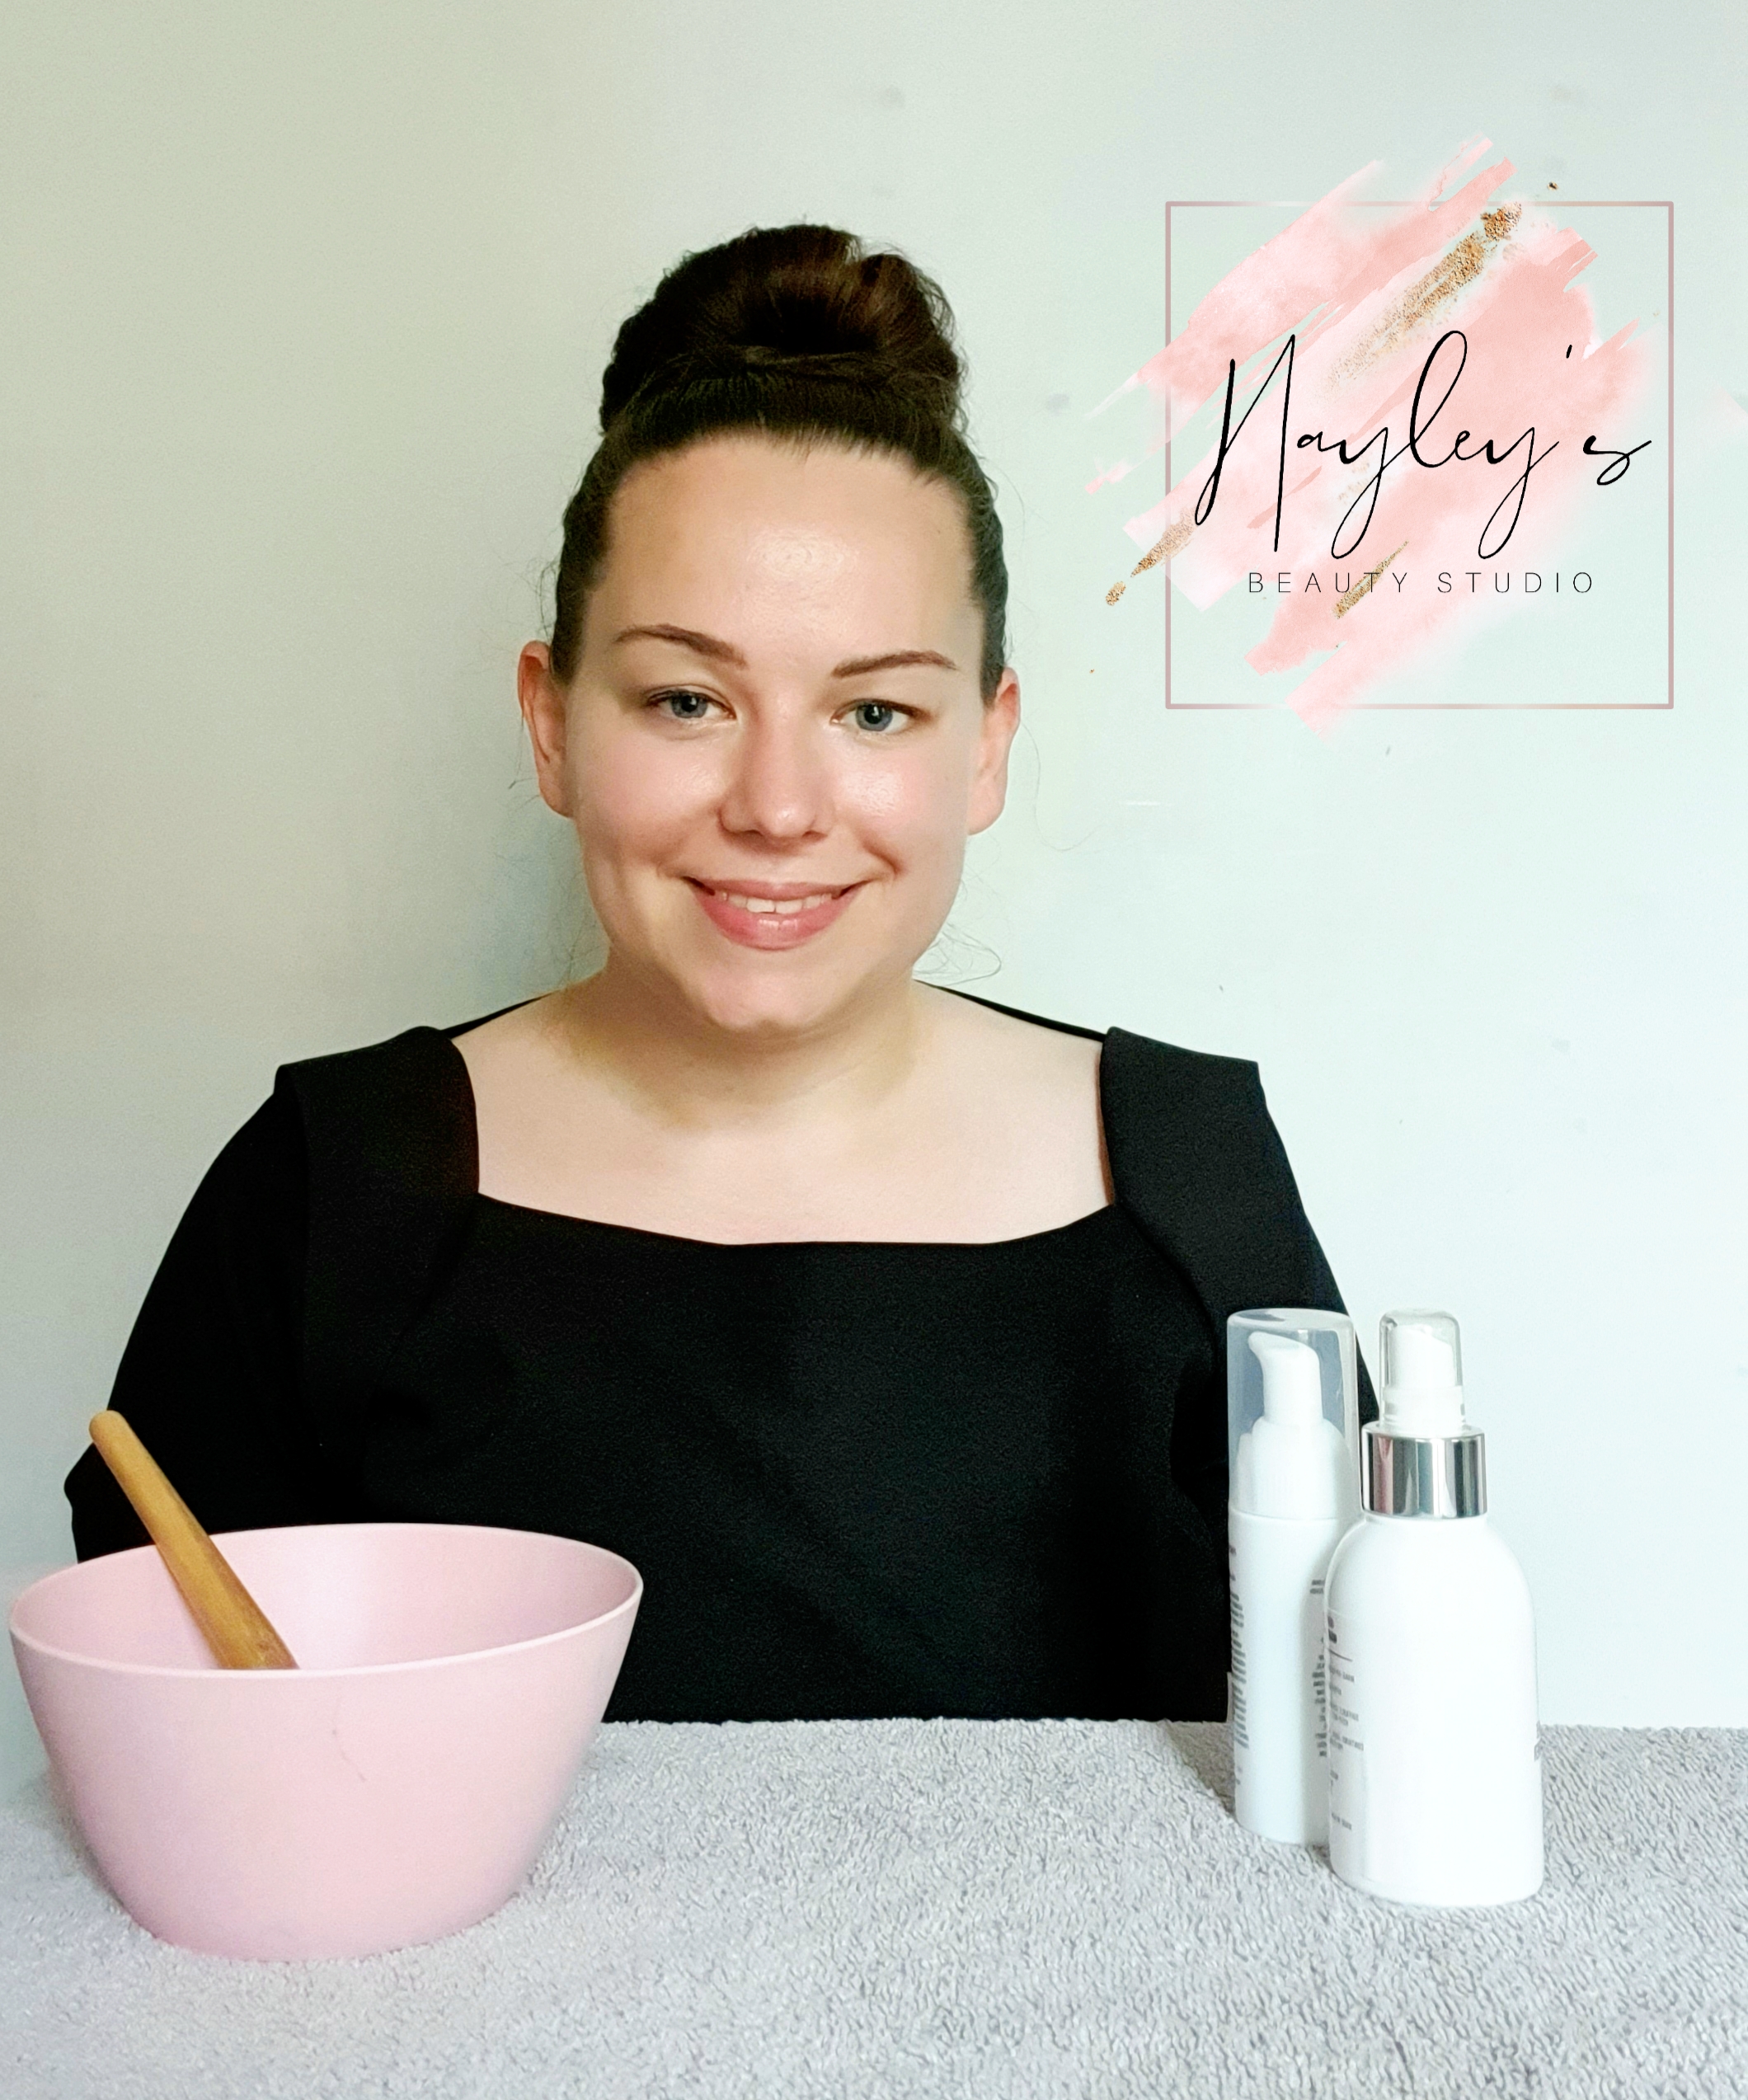
- Dec 4, 2020
- 4 min read
Facial Massage you can do at home... in a little over 1 minute! Of course this is a fast forward version and be sure to take your time on each movement and complete them slowly. This can be for a one off self care treat or incorporated into your daily routine.
Here is the HOW and WHY for each movement;
(If you have any specific health concerns you should consult your doctor for any advice before starting and never use excessive pressure in any areas)
Massage all over How - Literally as it says, you want to make sure you have enough oil all over the face.
Why - You need to create a good glide over the skin to avoid dragging it. 3 deep breathes How - Inhaling deeply and slowly through your nose and exhaling slowly through your mouth, the slower the better.
Why - Not only a great chance to take in the great smell of your oil, but to calm your mind and body before starting. Tense muscles cannot not be manipulated the same as relaxed ones. Strokes up the neck How - Using your fingers, stroke from the bottom of your neck upwards towards the jawline, working your way across the neck.
Why - We seem to always forget our necks in our facial skin routines, be sure to include so it can benefit from the oil and massage benefits as much as the rest of the face. Strokes to jawline How - Using your first two fingers trace your jaw, from the chin to the ears being sure to pull the jawline upwards.
Why - Our facial muscles do a lot for us during the day and if your an avid talker like me, the jaw muscles are used a lot. Using this draining motion can help relieve tension along the jaw. Circles under ears How - Place one or two fingers just after your jaw ends, behind the ears and massage in a circular motion.
Why - You have a large muscle that runs from the back of your ear and along your neck that can hold a lot of tension from your head and neck. Strokes under cheeks How - Using the flat of your hand or two fingers drain from your nose, underneath your cheekbones pulling the skin up towards the temples.
Why - This is a great movement for sinus relief and drainage across the cheeks. Circles around eyes How - Using your ring fingers, drain from the inner corners outwards towards your temples and around the eyes.
Why - This movement is great at reducing puffiness around the eyes and using your ring finger mean you won't add to much pressure to a delicate eye area. Strokes to third eye How - Stroke upwards in the centre of your eyebrows.
Why - The third eye is said to be a window into your mind and this can help to relax you, as well as helping to relieve head tension relief here from headaches or frowning. Pinching eyebrows How - Lightly use two fingers to gently pinch the eyebrows at the start, middle and end.
Why - When stressed we can hold a lot of tension in the muscles along the brow bone and this can help relieve it.
Stroke over brows How - Using one finger trace over the brows from the start to the end of the brow bone.
Why - Helping to drain away any stresses that are held up from frowning or when we squint too much from looking at screens. Strokes and circles over forehead How - Using the flat of your hand to stroke across each side of the forehead and fingertips to make small circles across, starting at the centre and working outwards towards the hairline.
Why - Stimulating the facial muscles also promotes the skins collagen and elastin, two proteins that keep your skin healthy and delay premature ageing. Massage and pull to earlobes How - Using two fingers to create small circular movements along the earlobes and then a gentle tug to pull them down at the end.
Why - Ear massage is a great stress buster and also pulling on your ears can help relieve pressure.
Raindrops How - Using just your fingers to 'pitter patter' all over the face.
Why - This can stimulate nerve endings and boost the circulation all over the face. Finish at the temples How - Massage over the entire skin and finish with circles to your temples.
Why - This helps soothe the skin after massage and finishing at your temples to signal end of the treatment and soothe this final pressure point.
I have used the Award Winning Super Green Nutrient Boost oil from Tropic Skincare because I am obsessed with this skin saviour and how it strengthens the skin with its vitamin packed ingredients, making your skin not only radiant but resilient.
You could also use the Award Winning Elixir Age-defying Omega Oil which is like liquid gold that nourishes the skin with its omega rich ingredients.
More about the Tropic Skincare Range can be found in my online shop here.
I use these oils and all the impressive Tropic Skincare Range in my professional facials. My Luxury Facial includes a 20 minute facial massage including hands or scalp that you can book online here.
I hope you enjoyed this routine and enjoy using at home, be sure to drink more water after any massage treatment to aid the body cleansing itself from the toxins.


Comments